How I created my illustrations.
Mr Blinking’s illustrations are all hand drawn and painted.

DRAWING MR BLINKING
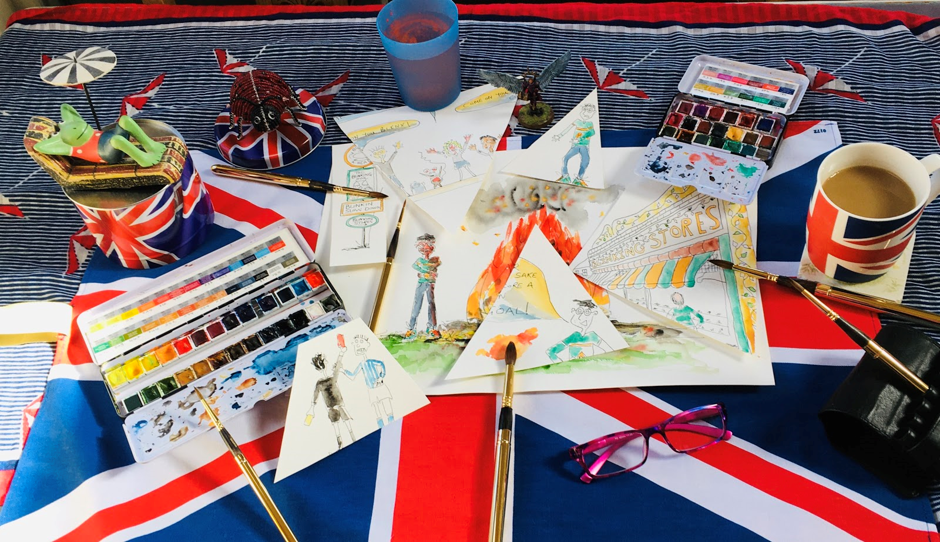
I use A3 tracing paper and draw Mr Blinking using a B pencil. Once I am happy with my drawing, I then go over it with a black thin pen. Can you see the large wooden hand and figures in the photograph? These can really help when drawing different positions for your characters.
This bureau that I use to draw and paint on, is situated in my kitchen where there is a lot of light. My friend offered the bureau to me before it went into a skip as it was falling apart - I stuck it together with glue and painted it.

USING MY LIGHT BOX
Once I have finished and happy with the drawing on the tracing paper, I then get out my light box. I place the drawing onto the light box and put 300 gsm (cold pressed (NOT) watercolour paper on top. It is amazing you can see your drawing right through the paper.
I use a nib and dip it into permanent ink to trace my own drawing onto the watercolour paper. Sometimes I go all wrong and have to start all over again. Once I am happy with the finished drawing I let it dry.
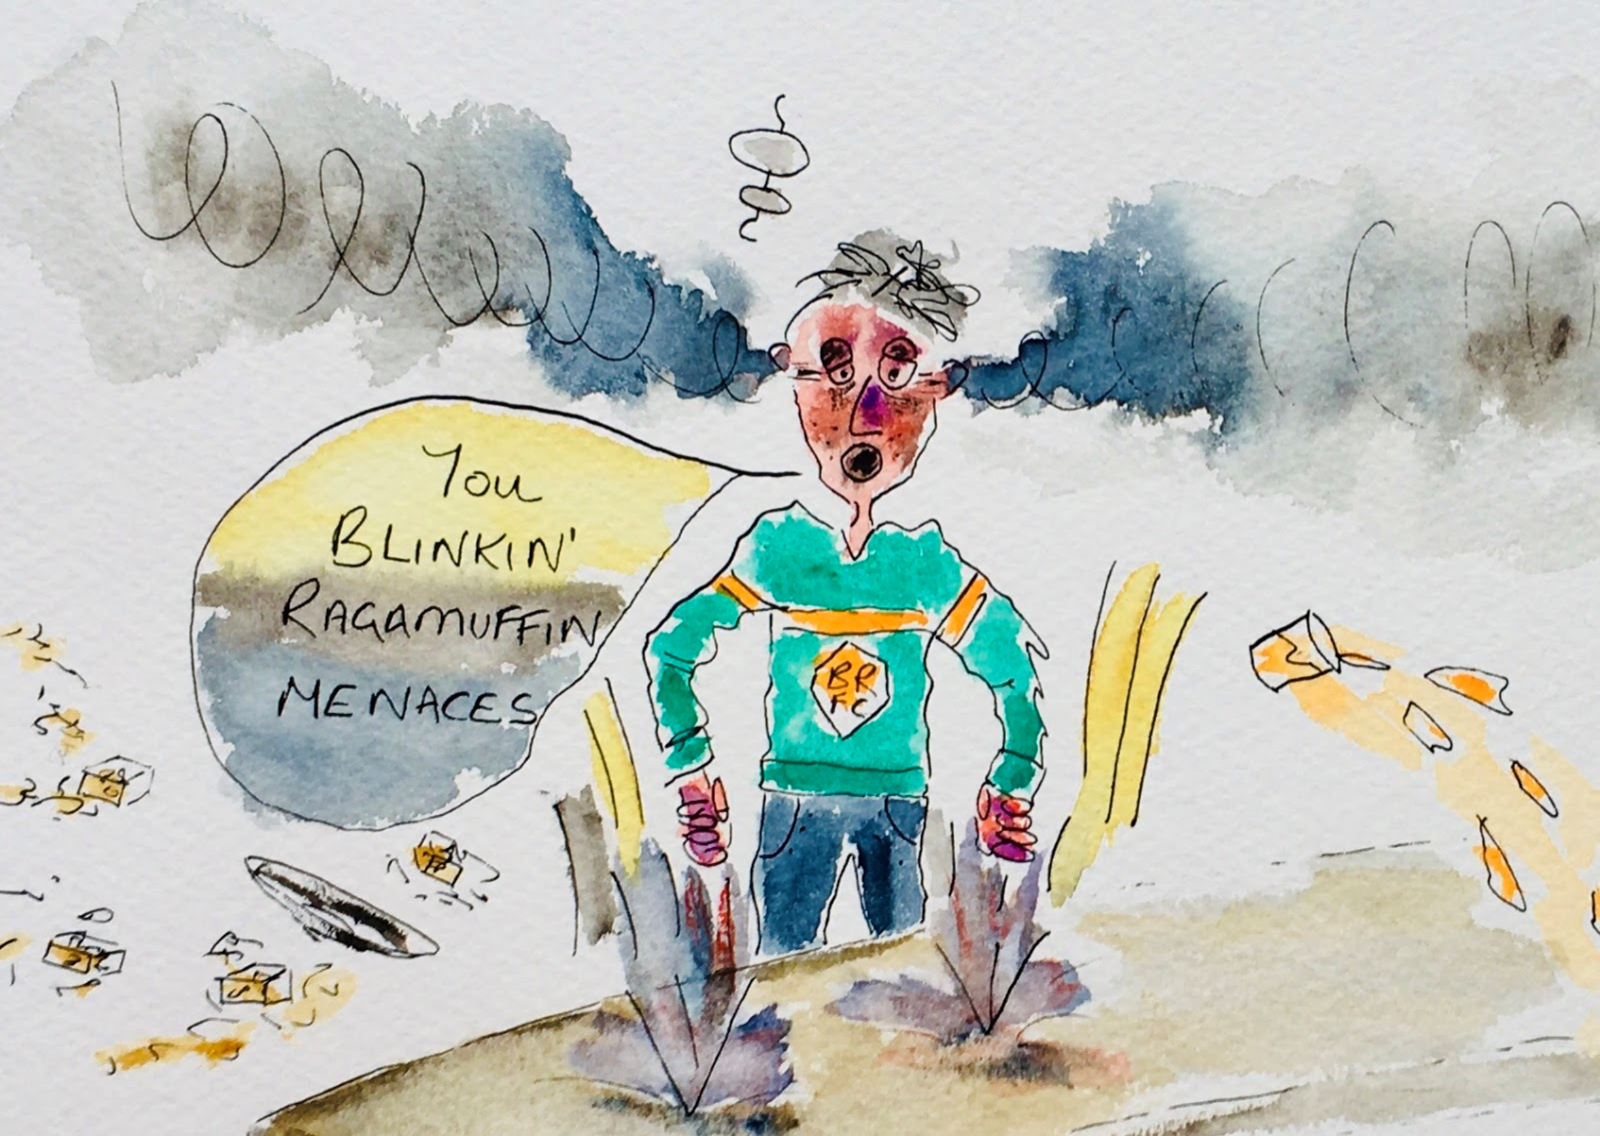
MR BLINKING drawn and painted onto watercolour paper.


Practicing over and over again
Here I have made a collage of all the drawings that went wrong. Everybody makes mistakes, it is how we all learn.
Finished paintings that are in the story.